To ensure the high performance of optical data transmission, fiber optic cleaning is regarded as an essential way to get rid of the contaminants on devices. Fiber optic connectors are often recommended to be cleaned on a regular basis. Apart from the connectors, other devices such as fiber optic transceiver, optical adapter should also be cleaned when they are being polluted. This post will focus on introducing the proper method of cleaning fiber optic transceivers.
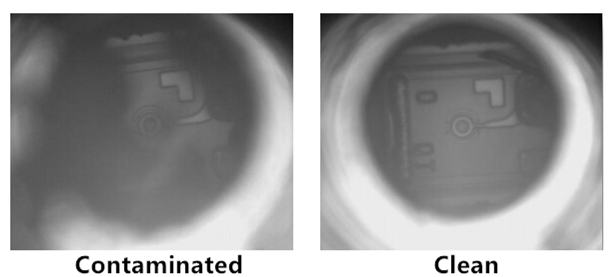
Compared with connectors, transceiver modules seem to have a smaller chance to be contaminated. Therefore, fiber optic transceivers should only be cleaned when problems occur. Generally, if signal output from the transceiver is still false or in low-power after cleaning the connectors, you can clean the fiber optic transceiver instead to solve the issue. Common contaminant in optical transceivers is the debris or particles coming through the contact with optical connector ferrules. The following picture shows the comparison of dirty and clean interfaces of transceivers under the digital microscope.
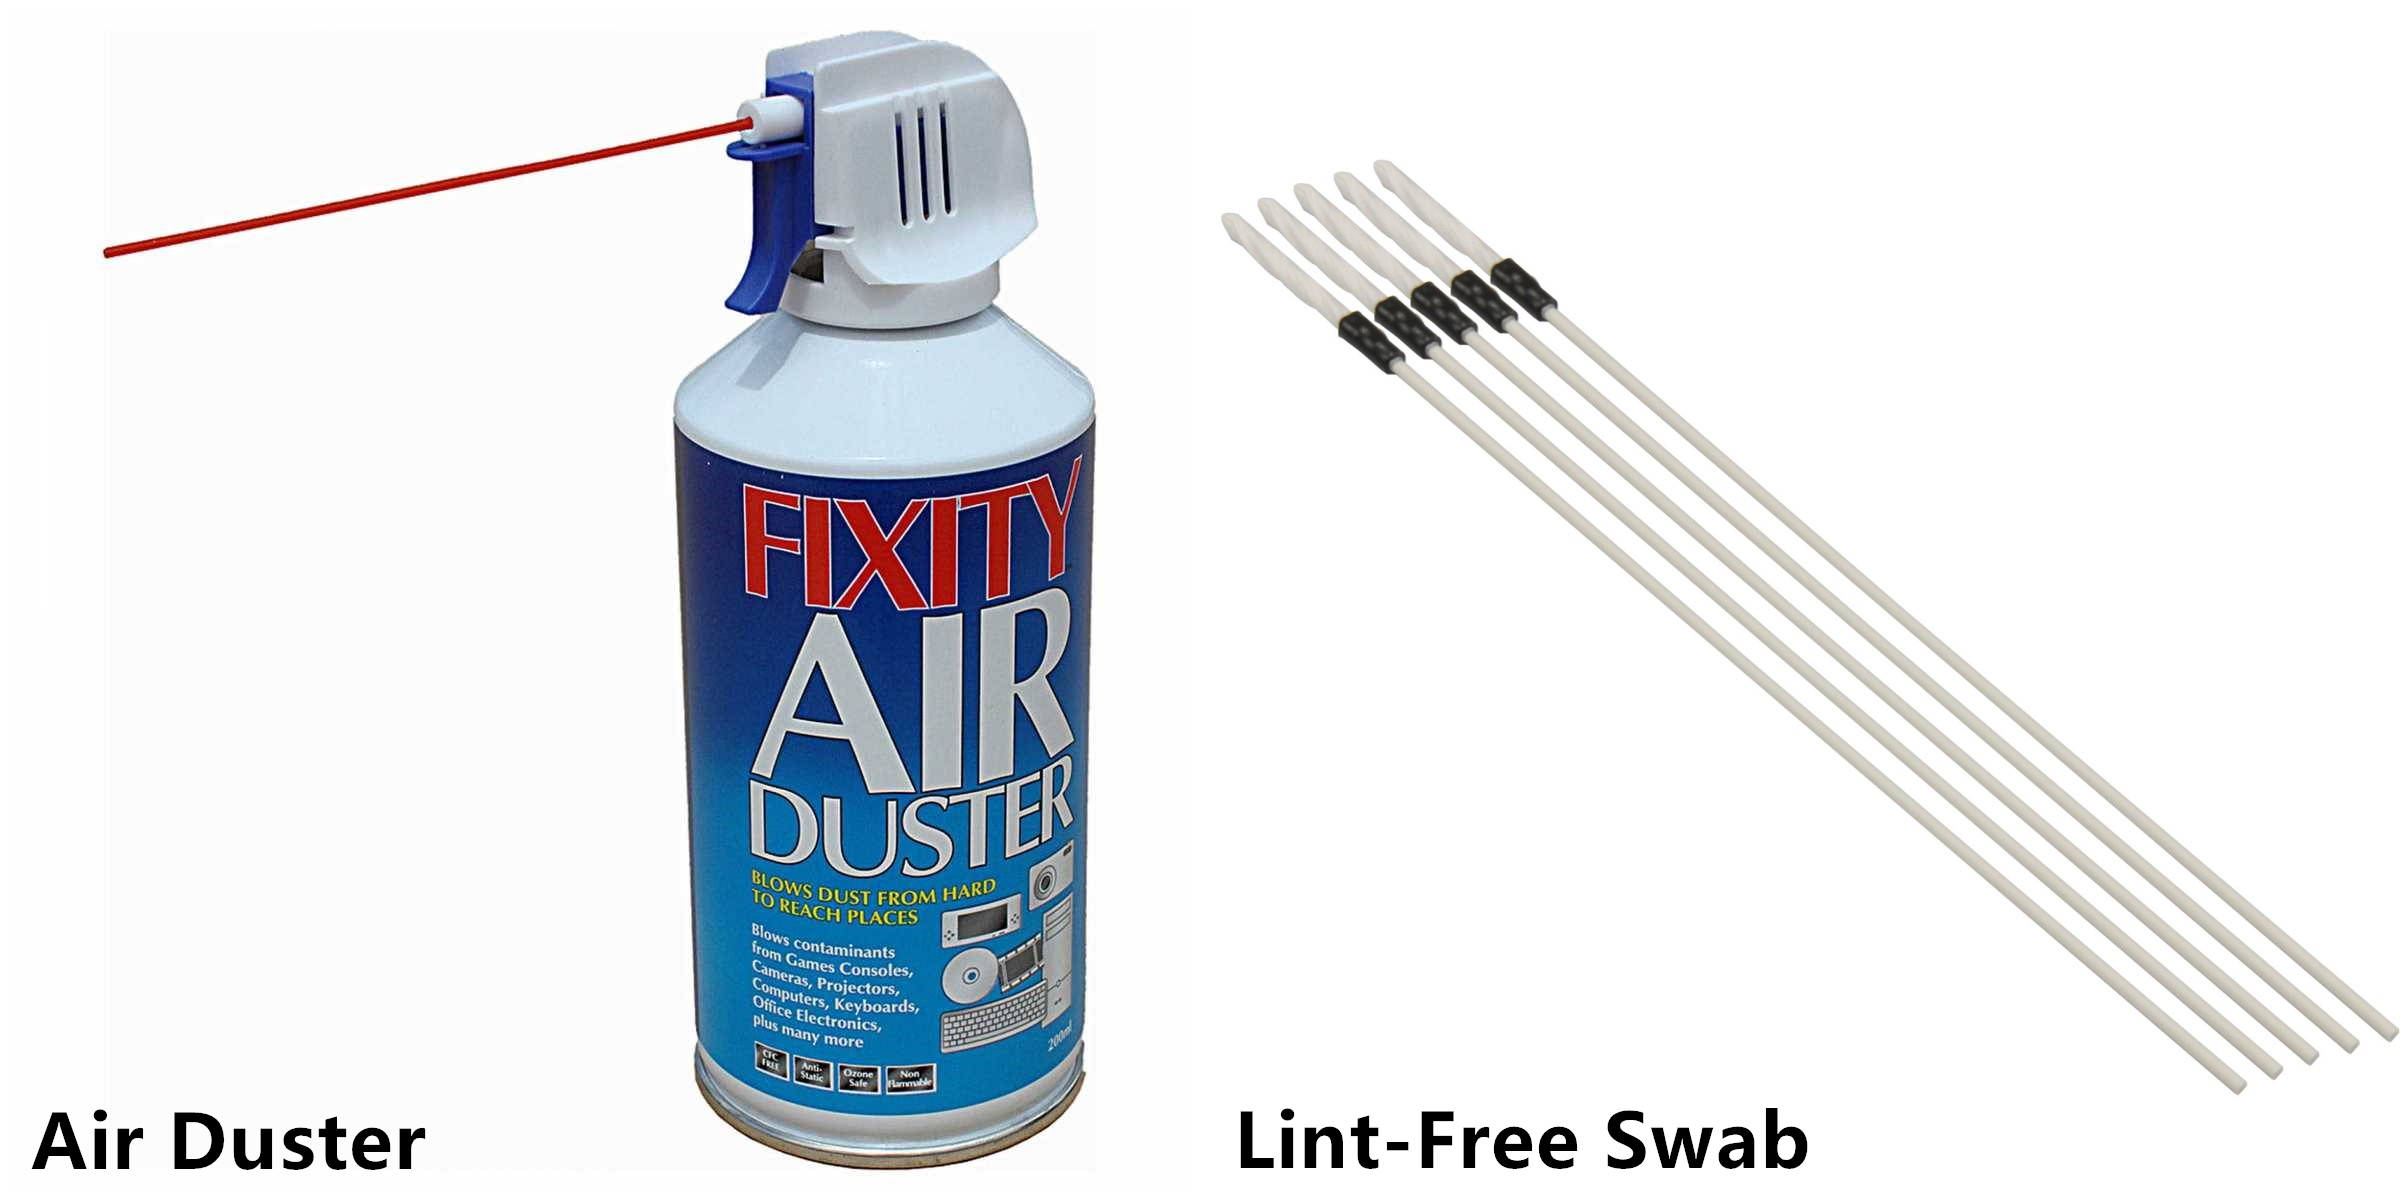
Air duster and lint-free swab are the major cleaning tools for fiber optic transceivers. Air duster uses the clean dry air to blow any dust and debris out of the transceiver. Lint-free swab is special for not leaving any lint in the transceiver interface after cleaning.
A safe operation is very important to protect yourself from unnecessary accidents. Before starting the cleaning process, here are some precautions for you to note.
- Always handle optical modules in an ESD (electro-static discharge) safe area using the proper safety precautions.
- Ensure that the module power is off and handle the modules with care.
- Always use CDA or an approved canned compressed air supply.
- Always hold the can of compressed air upright. Tipping may release liquids in the air stream.
- Do not touch the inner surfaces of the module including the OSA (optical subassemblies), or insert any foreign objects into the ports.
- Use of finger cots or powder free surgical gloves is not required but can ensure better cleanliness.
After every thing is ready, you can start to clean the transceiver interface. The followings are the general cleaning steps for reference. If condition permits, you can use microscope to inspect the transceiver to ensure cleanliness. Usually, when output signal becomes normal, then the cleaning procedure is a success.
- Step 1: Open the dust cover or remove the dust plug from the module.
- Step 2: Use a non-abrasive cleaner (air duster) to remove any dirt or debris.
- Step 3: Insert a lint-free cleaning stick of the appropriate size (2.5 mm or 1.25 mm) and turn clockwise. It is recommended to do dry cleaning instead of wet cleaning by using alcohol-based cleaning sticks.
- Step 4: Repeat steps 2 and 3 if necessary.
- Step 5: Remove the cleaning stick, and reinsert the module’s dust cap. Always keep the dust cap inserted in the module when not in use.
- Step 6: Always make sure that the connector is also clean before plugged into the module.
Fiber optic cleaning plays an important role in fiber optic system. Although optical transceivers are less frequent to be cleaned, the request for cleaning still exists. As long as you use the correct cleaning tools and follow the right cleaning procedures, transceivers can surely be cleaned with no more contamination. In this case, the efficiency of fiber optic system will be greatly improved.