It’s well known that network technology is changing, but the critical aspect can’t be changed or replaced—patch panel cable management. If the key component is missing, the data transmission will be interrupted and fail to arrive at the destination. Patch panels, as the nerve center of a network system, can ensure the signal to work in ordered and friendly way. But how to install patch panel? And what’s the patch panel installation guide? This article will give you several suggestions.
Types of Patch Panel
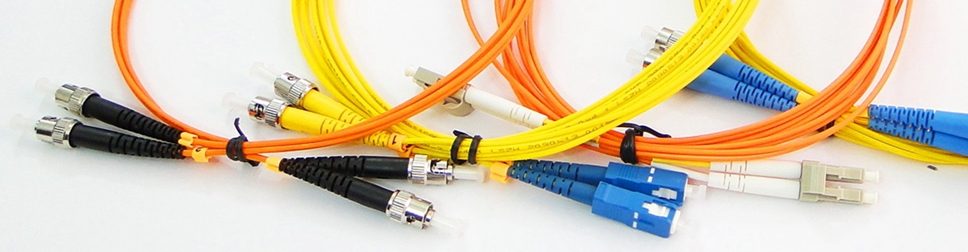
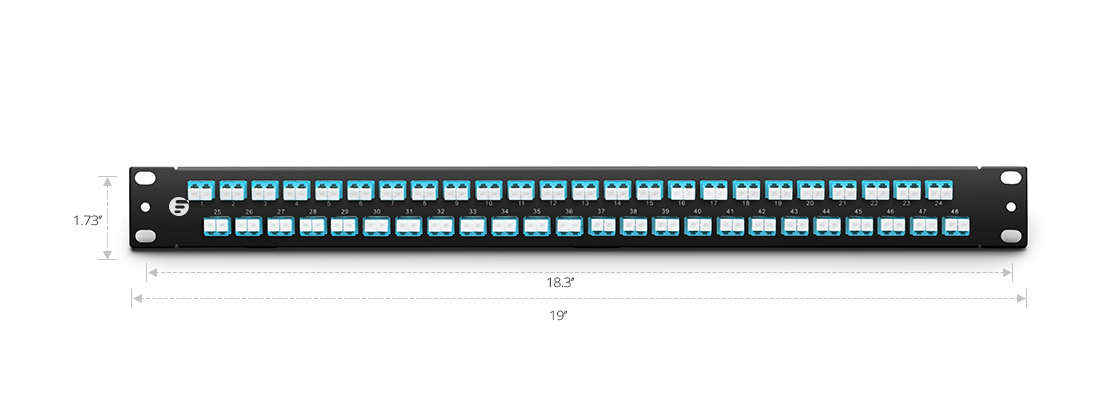
Patch panels are available in copper and fiber cables. And designed with different port types and uses, patch panels from FS.COM are divided into 24 LC fiber port patch panel, 24 port SC fiber patch panel, 48 port LC fiber patch panel and so on, and copper patch panel can fall into 24 port cat6 shielded/unshielded patch panel, 24 port cat5e shield/unshielded patch panel and 24 port blank keystone patch panel. Here, we will take the 48 port LC fiber patch panel as the example to explain the patch panel installation.
With the size of 19”×1.73”, this fiber optic patch panel is suitable for installing on the 19 inch server rack. It has duplex LC adapters that allow a two-way data transmission between the connecting devices. The 48 port LC fiber patch panel uses C.R.S powder coating, which is fully in line with national environmental standards, can be placed indoors. High density port design makes it connect 96 OM3 or OM4 fibers at most, which is much more than the 24 port patch panel.
Patch Panel Installation Guide
Only follow the right steps can achieve a reliable network. There are two aspects of patch panel installation guide for your reference.
-
Planning. A successful work starts with a good planning. You should figure out the issues, the network speed, distribution location, and cables length. Make sure you know the specification and design of the patch panel installation.
-
Preparation. Preparation work can reduce disconnect time. Prepare the main tools, 1U rack mount fiber enclosure, 48 port LC fiber patch panel and screws. Check the cable length for ensuring the cables that could be long enough to pull. And label the ports to identify different cables, in order to guarantee the technicians to have clear information on what they need to do.
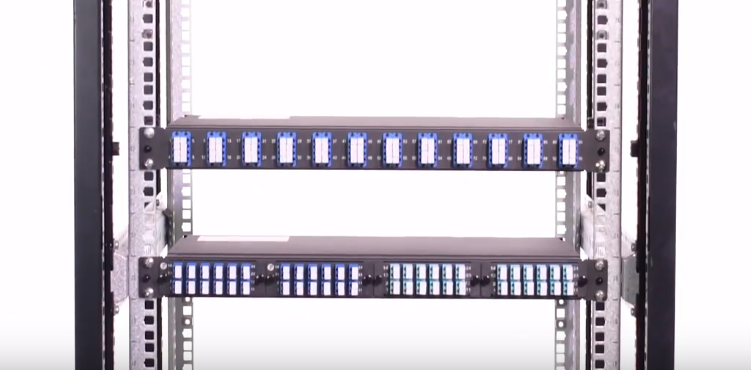
Installation of 48 Port LC Patch Panel in a Server Rack
First, we should install the 48 port LC patch panel in the 1U rack mount fiber optic enclosure. Remove the front panel of 1U rack mount fiber enclosure, then install 48 port LC patch panel and fasten the screw.
Second, fix the equipment in the server rack. And leave some space between the patch panel and other devices, for cables management and future change.
Third, try to connect OM3 or OM4 cables to the patch panel in one pull, which helps to protect the bend radius. Comb and bundle the cables, and put them into the patch panel trunking, then cover it with top panels.
Last, don’t forget to clean the work area when you finish the patch panel installation, because the optical fibers are sensitive to dust and dirt. Therefore, try to keep clean when working with fiber optic cables to make them achieve their full performance.
FS.COM offers a vast selection of patch panel installation products and accessories that meet the international standards for supporting your network needs. For more details, please contact us via sales@fs.com.